Yamaha YZF-R125 Service Manual: Adjusting the clutch cable free play
1. Check:
Clutch cable free play "a"
Out of specification  Adjust.

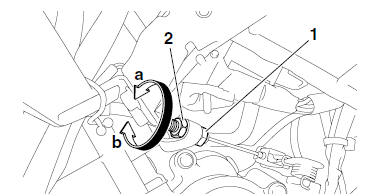
2. Adjust:
- Clutch cable free play
a. Pull back the rubber cover "1" b. Loosen the locknut "2".
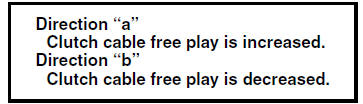
c. Turn the adjusting bolt "3" in direction "a" or
"b" until the specified clutch cable free play is
obtained.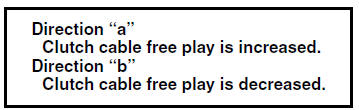
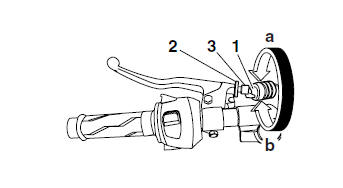
d. Tighten the locknut.
e. Place the rubber cover in its original position.
NOTE:
If the specified clutch cable free play cannot be obtained on the handlebar end of the cable, use the adjusting nut on the engine end.
3. Remove:
- Left lower side cowling Refer to "GENERAL CHASSIS" on page 4-1.
a. Loosen the locknut "1".
b. Turn the adjusting nut "2" in direction "a" or "b"
until the specified clutch cable free play is obtained.
c. Tighten the locknut.
4. Install:
- Left lower side cowling Refer to "GENERAL CHASSIS" on page 4-1.
 Changing the engine oil
1. Remove:
Right bottom cowling
Right upper side cowling
Right lower side cowling
Refer to "GENERAL CHASSIS" on page 4-1.
2. Start the engine, warm it up for several minutes,
and then tu ...
 Cleaning the air filter element
NOTE:
There is a check hose "1" at the bottom of the air
filter case. If dust and/or water collects in this
hose, clean the air filter element and air filter
case.
1. Remove:
Rider seat
...
Other materials:
Checking the ignition timing
NOTE:
Prior to checking the ignition timing, check the
wiring connections of the entire ignition system.
Make sure all connections are tight and free of
corrosion.
1. Remove:
Rider seat
Left lower side cowling
Refer to "GENERAL CHASSIS" on page 4-1.
2. Remove:
Timing mark acces ...
Checking the spark plug
1. Remove:
Right side cover
Refer to "GENERAL CHASSIS" on page 4-1.
2. Disconnect:
Spark plug cap
3. Remove:
Spark plug
CAUTION:Before removing the spark plug, blow away
any dirt accumulated in the spark plug well
with compressed air to prevent it from falling
...
Adjusting the throttle cable free play
Throttle cable free play
The throttle cable free play should measure
3.0-5.0 mm (0.12-0.20 in) at the
throttle grip. Periodically check the
throttle cable free play and, if necessary,
adjust it as follows.
TIP
The engine idling speed must be correctly
adjusted before checkin ...