Yamaha YZF-R125 Service Manual: Removing the valves
The following procedure applies to all of the valves and related components.
NOTE:
Before removing the internal parts of the cylinder head (e.g., valves, valve springs, valve seats), make sure the valves properly seal.
1. Check:
- Valve sealing
Leakage at the valve seat
 Check
Check
the valve face, valve seat, and valve seat width.Refer to "CHECKING THE VALVE SEATS" on page 5-20.
a. Pour a clean solvent "a" into the intake and exhaust ports.
b. Check that the valves properly seal.
NOTE:
There should be no leakage at the valve seat "1".
2. Remove:
- Valve cotters "1"
NOTE:
Remove the valve cotters by compressing the
valve spring with the valve spring compressor
and the valve spring compressor attachment "2".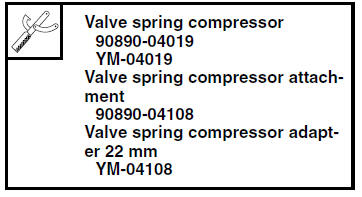
3. Remove:
- Upper spring seat "1"
- Valve spring "2"
- Valve "3"
- Valve stem seal "4"
- Lower spring seat "5"
NOTE:
Identify the position of each part very carefully so that it can be reinstalled in its original place.

 Checking the valves and valve guides
The following procedure applies to all of the
valves and valve guides.
1. Measure:
Valve-stem-to-valve-guide clearance
Out of specification Replace the
valve
guide.
Valve-stem-to-valve ...
Other materials:
Self-diagnostic function table
If the ECU detects an abnormal signal from a sensor while the vehicle is
being driven, the ECU illuminates
the engine trouble warning light and provides the engine with alternate
operating instructions that
are appropriate for the type of malfunction.
When an abnormal signal is received fro ...
Installing the crankshaft
1. Install:
Crankshaft "1"
NOTE:
Install the crankshaft with the crankshaft installer
pot "2", crankshaft installer bolt "3", adapter
(M12) "4" and spacer (crankshaft installer) "5".
CAUTION:To avoid scratching the crankshaft and to
ease the installation procedure, lubricate ...
Replacing the headlight bulbs
The following procedure applies to the low beam
headlight bulb.
1. Remove:
Headlight bulb cover "1"
2. Remove:
Headlight bulb holder "1"
3. Remove:
Headlight bulb "1"
WARNINGSince the headlight bulb gets extremely
hot,
keep flammable products and your ...