Yamaha YZF-R125 Service Manual: Checking the connections
Check the leads, couplers, and connectors for stains, rust, moisture, etc.
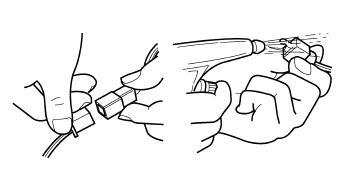
1. Disconnect:
- Lead
- Coupler
- Connector
2. Check:
- Lead
- Coupler
- Connector
Moisture → Dry with an air blower.
Rust/stains → Connect and disconnect several times.
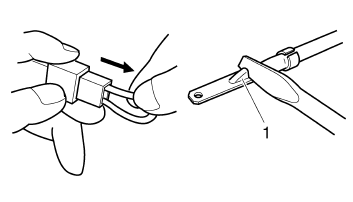
3. Check:
- All connections
Loose connection → Connect properly.
NOTE:
If the pin "1" on the terminal is flattened, bend it up.
4. Connect:
- Lead
- Coupler
- Connector
NOTE:
Make sure all connections are tight.
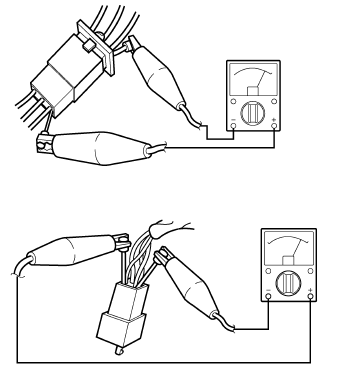
5. Check:
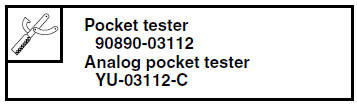
- Continuity
(with the pocket tester)
NOTE:
If there is no continuity, clean the terminals.
When checking the wire harness, perform steps (1) to (3).
As a quick remedy, use a contact revitalizer available at most part stores.
 Circlips
Before reassembly, check all circlips carefully
and replace damaged or distorted circlips. Always
replace piston pin clips after one use.
When installing a circlip "1", make sure the
sharp-edged ...
 Special tools
The following special tools are necessary for complete and accurate tune-up
and assembly. Use only
the appropriate special tools as this will help prevent damage caused by the use
of inappropriat ...
Other materials:
Checking the valve seats
The following procedure applies to all of the
valves and valve seats.
1. Eliminate:
Carbon deposits
(from the valve face and valve seat)
2. Check:
Valve seat
Pitting/wear Replace the
cylinder head.
3. Measure:
Valve seat width C "a"
Out of specification Replace
the ...
Storage
Short-term
Always store your motorcycle in a cool,
dry place and, if necessary, protect it
against dust with a porous cover.
NOTICE
Storing the motorcycle in a
poorly ventilated room or covering
it with a tarp, while it is still
wet, will allow water and humidity
to seep in and ...
Checking the switches
1. Clutch switch
2. Main switch
3. Front brake light switch
4. Sidestand switch
5. Rear brake light switch
6. Neutral switch
7. Turn signal switch
8. Horn switch
9. Dimmer switch
10.Pass switch
11.Engine stop switch
12.Start switch
Check each switch for continuity with the pocket tes ...