Yamaha YZF-R125 Service Manual: Removing the front fork legs
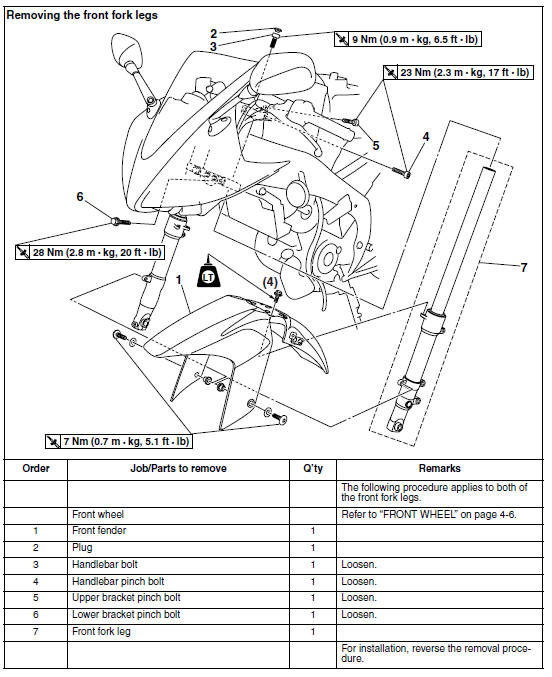

The following procedure applies to both of the front fork legs.
1. Stand the vehicle on a level surface.
| WARNING Securely support the vehicle so that there is no danger of it falling over. |
2. Loosen:
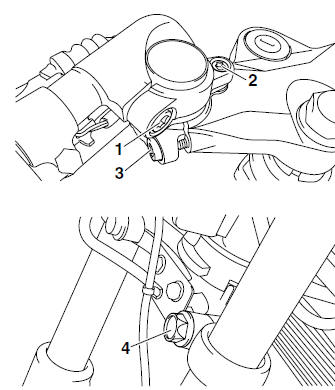
- Handlebar pinch bolt "1"
- Handlebar bolt "2"
- Upper bracket pinch bolt "3"
- Lower bracket pinch bolt "4"
| WARNING Before loosening the upper and lower bracket pinch bolts, support the front fork leg. |
3. Remove:
- Front fork leg
 Front fork
...
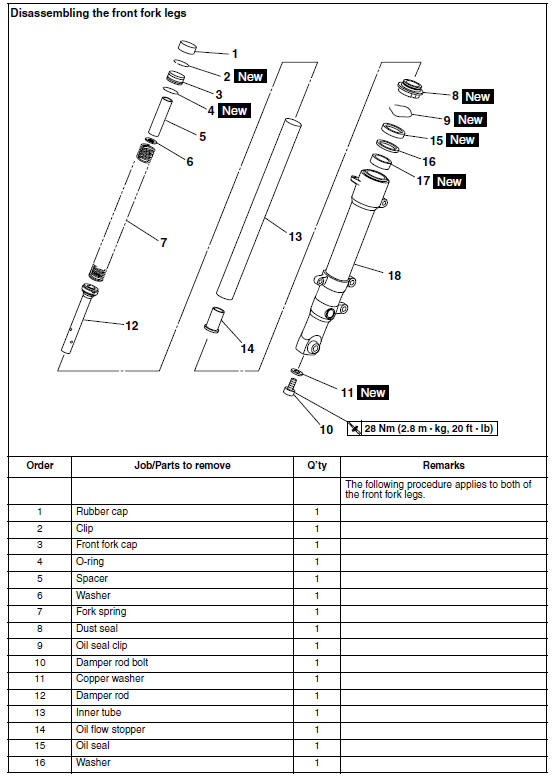
 Disassembling the front fork legs
The following procedure applies to both of the
front fork legs.
1. Remove:
Rubber cap
Clip "1"
Front fork cap "2"
(with O-ring)
Fork spring
NOTE:
Push the front fork cap in the direc ...
Other materials:
Faulty clutch
Clutch slips
1. Clutch
Improperly assembled clutch
Improperly adjusted clutch cable
Loose or fatigued clutch spring
Worn friction plate
Worn clutch plate
2. Engine oil
Incorrect oil level
Incorrect oil viscosity (low)
Deteriorated oil
Clutch drags
1. Clutch
Unevenly t ...
Handlebar switches
Left
Left
1. Pass switch "PASS"
2. Dimmer switch "/"
3. Turn signal switch "/"
4. Horn switch""
Right
Right
Engine stop switch "/"
Start switch""
Pass switch "PASS"
Press this switch to flash the headlight.
Dimmer switch "/"
Set this switch to""
for the high
beam an ...
Checking the coolant temperature sensor
1. Remove:
Coolant temperature sensor
WARNING
Handle the coolant temperature sensor
with special care.
Never subject the coolant temperature sensor
to strong shocks. If the coolant temperature
sensor is dropped, replace it.
2. Check:
Coolant temper ...