
Yamaha YZF-R125 Service Manual: Circuit diagram
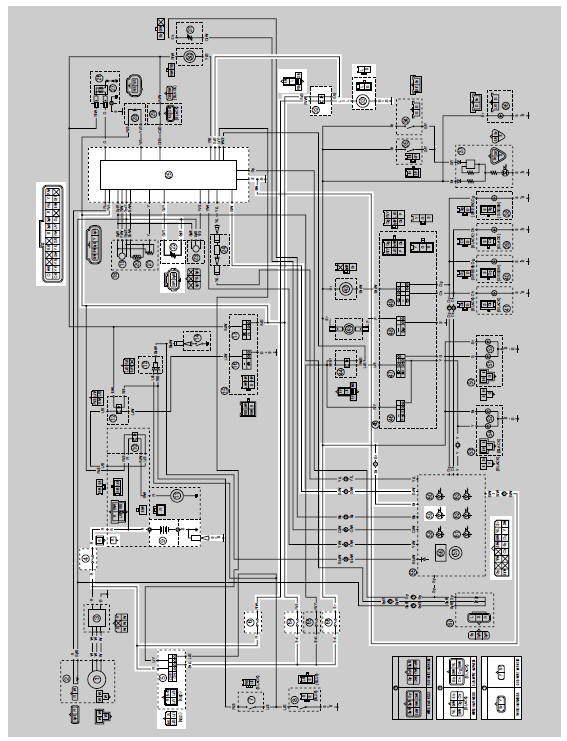
4. Main fuse
5. Main switch
6. Radiator fan motor fuse
9. Battery
22.Coolant temperature sensor
32.Radiator fan motor relay
33.Radiator fan motor
59.Coolant temperature warning light
64.Ignition fuse
66.Signaling system fuse
 Cooling system
...
 Troubleshooting
NOTE:
Before troubleshooting, remove the following part(s):
1. Rider seat
2. Fuel tank
3. Right upper side cowling
4. Passenger seat
...
Other materials:
Checking the spark plug
The spark plug is an important engine
component, which is easy to check.
Since heat and deposits will cause any
spark plug to slowly erode, the spark
plug should be removed and checked
in accordance with the periodic maintenance
and lubrication chart. In addition,
the condition of the ...
Assembling the water pump
1. Install:
Water pump seal "1"
(into the water pump housing "2")
CAUTION:Never lubricate the water pump seal
surface
with oil or grease.
NOTE:
Install the water pump seal with the special
tools.
Install the water pump seal with the special
tools to the specifi ...
Installing the shift shaft
1. Install:
Stopper lever "1"
Stopper lever spring "2"
NOTE:
Install the stopper lever spring as shown in the
illustration.
Hook the ends of the stopper lever spring onto
the stopper lever and the crankcase boss "3".
Mesh the stopper lever with the shift drum segment
assembly. ...